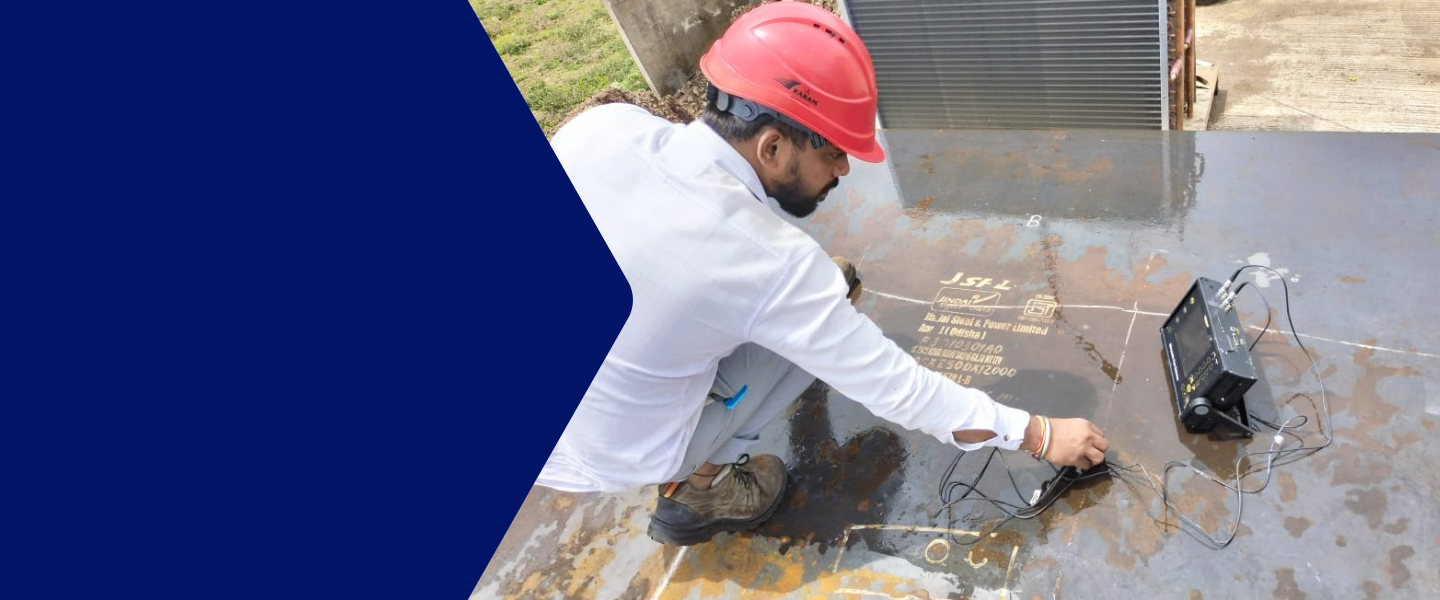
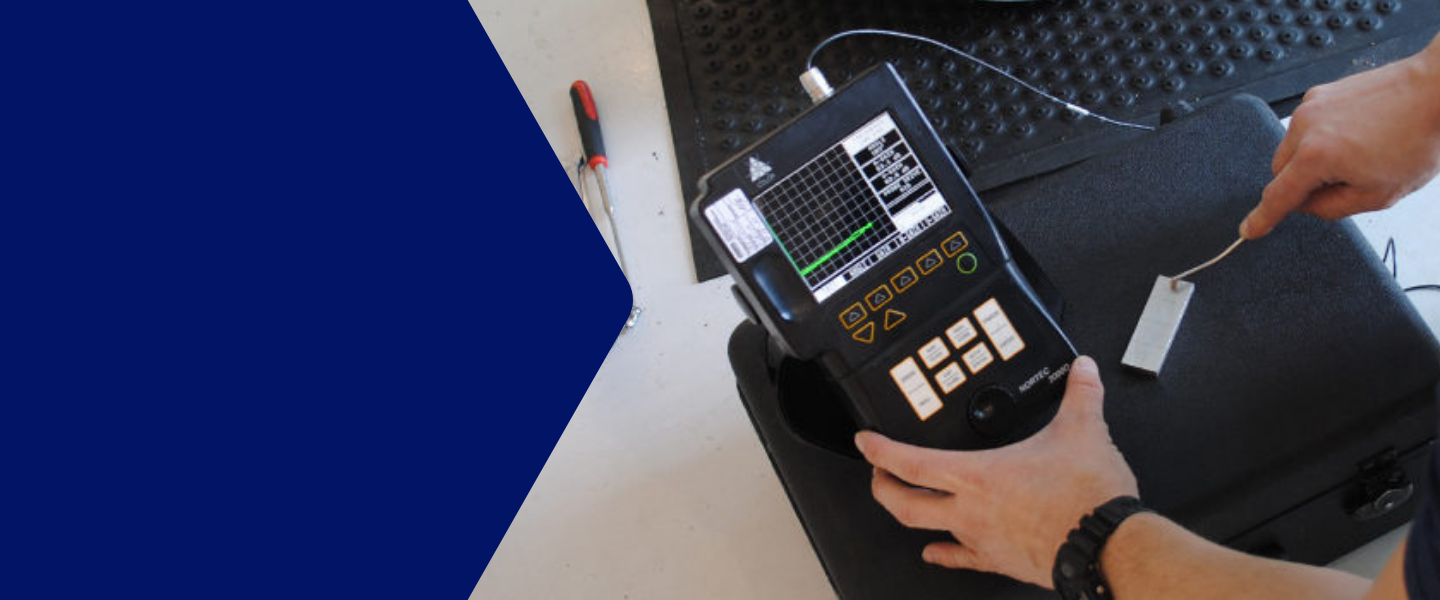
Ultrasonic testing is a non-destructive method which uses high frequency and the shorter wavelength sound waves are introduced into the material being inspected. The sound waves travel through the material with some loss of energy (attenuation) due to material characteristics or are measured after reflection at interfaces (pulse echo) or flaws, or are measured at the opposite surface (through transmission). The reflected beam is detected and analyzed to define the presence and location of flaws, measurement of thickness.
APPLICATIONS:
Weld inspection – Boilers, Pressure vessels, Heat exchangers, structure, railway products, generators etc.
Forgings- Shafts, Valve bodies, bars, flanges, plates etc.
Castings- Valve bodies, turbine casings, pump bodies, pulleys, etc.
Wrought products- Rolled plates, bars, beams and sections
Pipe and tubes- Seamless, welded pipes, sheets used for welded pipes
In-service inspection
COMPANY’S CREDENTIALS / APPROVALS / ACCREDITATION:
ISO 9001 : 2015
ISO/IEC 17025: 2017 (NABL)
PERSONNEL QUALIFICATIONS:
NDE Level II (SNT-TC-1A), ASNT Level III, ISNT Level II/III, ISO 9712 Level 2/3,
PED, PCN, ICN
- Olympus Epoch 650 -1
- Modsonic – 4
- Kappawave – 2
- IIW V1 Block – 3
- IIW V2 Block – 4
- DAC Block – 19mm , 38 mm and 75 mm thickness
FAQ
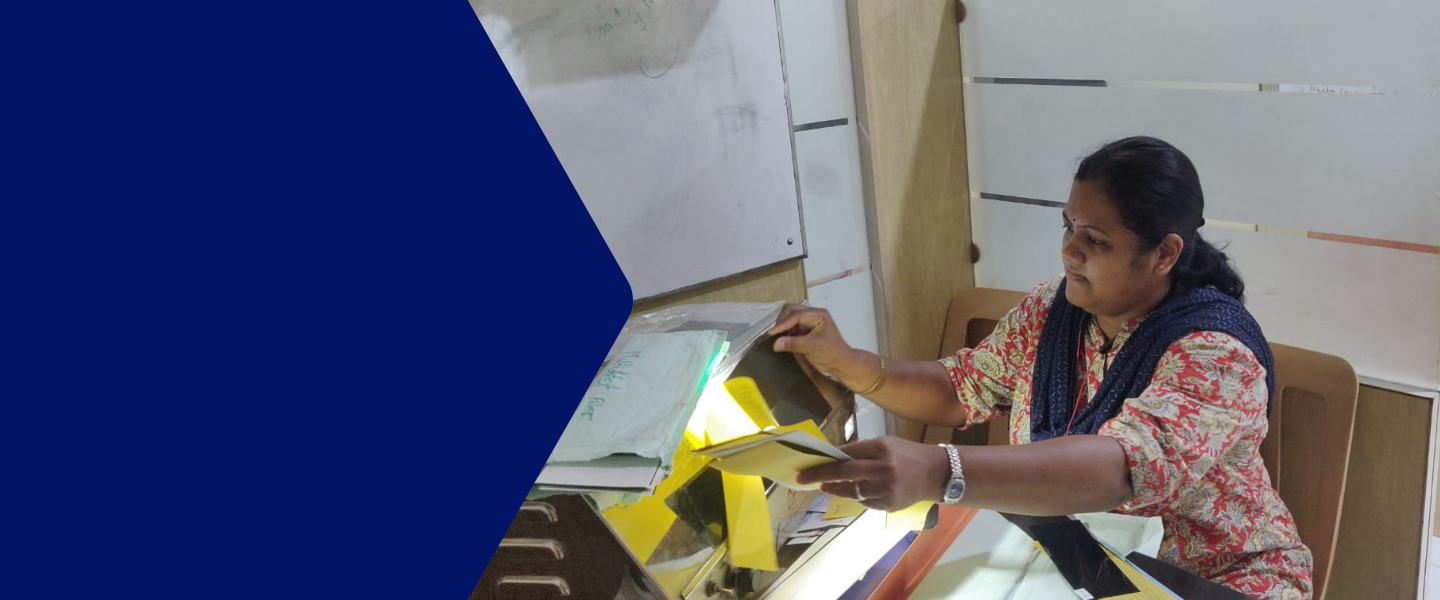
The radiographic testing uses high frequency and the shorter wavelength portion of electromagnetic radiation for the detection of internal flaws on many different materials and configurations. An appropriate radiographic film/ detector is placed behind the test specimen and is exposed by passing either X-Rays or gamma rays through it. The intensity of the X-rays or gamma rays while passing through the product is modified according to the internal structure of the specimen and thus the exposed film after processing, reveals the shadow picture of the internal structure of the product. This shadow picture, known as a radiograph, is then interpreted to obtain data about the flaws present in the specimen and evaluated as per applicable design code.
APPLICATIONS:
Weld inspection – Boilers, Pressure vessels, Heat exchangers, structure, railway products, generators etc.
Castings - Valve bodies, turbine casings, pump bodies, pulleys, etc.
COMPANY’S CREDENTIALS / APPROVALS / ACCREDITATION:
ISO 9001 : 2015
PERSONNEL QUALIFICATIONS:
NDE Level II (SNT-TC-1A), ASNT Level III, ISNT Level II/III, ISO 9712 Level 2/3,
PED, PCN, ICN
- Densitometer – 2
- Radiographic illuminators – 4
FAQ
This method can be used for the detection of open-to-surface discontinuities in any industrial product which is made from a non-porous material. Prior to penetrant testing, the surface to be inspected shall be clean and dry. Suitable penetrant is then applied to the test area and enter discontinuities open to the surface. After the appropriate penetration time has elapsed, the excess penetrant is removed from the surface and the developer applied. The developer absorbs the penetrant that has entered and remains in the discontinuities and may give a clearly visible enhanced indication of the discontinuity. Indications found are interpreted and evaluated as per applicable design code. Based upon sensitivity required various techniques can be ultilized viz. Color contrast, fluorescent, water
washable, post-emulsified, solvent removable.
APPLICATIONS:
Weld inspection – Boilers, Pressure vessels, Heat exchangers, structure, railway products, generators etc.
Forgings- Shafts, Valve bodies, bars, flanges, plates etc.
Castings- Valve bodies, turbine casings, pump bodies, pulleys, etc.
Wrought products- Rolled plates, bars, beams and sections
Pipe and tubes- Seamless, welded pipes, sheets used for welded pipes
Inservice inspection
COMPANY’S CREDENTIALS / APPROVALS / ACCREDITATION:
ISO 9001 : 2015
ISO/IEC 17025: 2017 (NABL)
PERSONNEL QUALIFICATIONS:
NDE Level II (SNT-TC-1A), ASNT Level III, ISNT Level II/III, ISO 9712 Level 2/3,
PED, PCN, ICN
- Lux meter - 2
- Radiometer – 1
- LED UV light – 2
- Aluminum crack panel - 1
- Consumables for visible, fluorescent, water washable, post emulsified and solvent removable
- Consumables for high temperature PT (up to 176° C)
FAQ
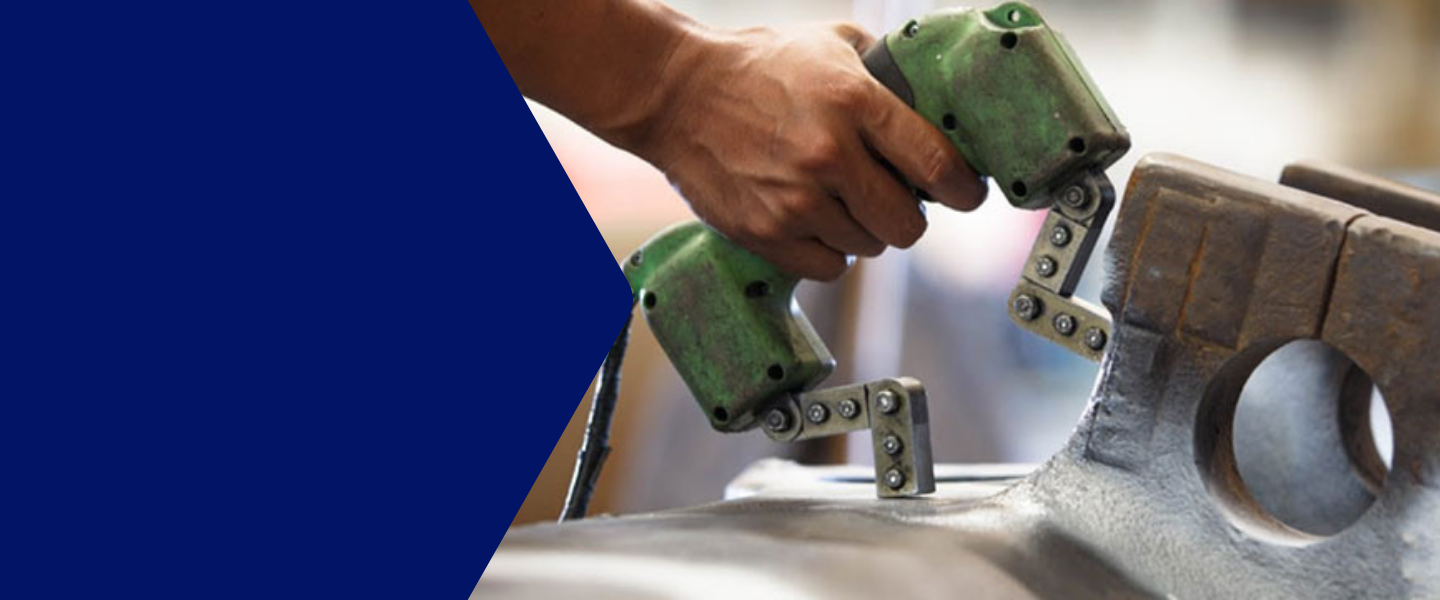
Magnetic particle testing is used for the testing of materials which can be easily magnetized (Ferromagnetic). This method is capable of detecting flaws which are open-to-surface and just-beneath-the surface. Process involves the magnetizing the part either by using a permanent magnet, or an electromagnet or by-passing electric current through the specimen and the magnetic lines of forces are set in to the specimen. Whenever there is a flaw which interrupts the flow of magnetic lines of force, some of these lines must leave and re-enter the specimen. These points of leaving and re-entry form opposite magnetic poles. Whenever magnetic particles are sprinkled onto the surface of the specimen, these particles are attracted by these magnetic poles to create a visual indication approximating the size and shape of the flaw. Indications found are interpreted and evaluated as per applicable design code.
APPLICATIONS:
Weld inspection – Boilers, Pressure vessels, Heat exchangers, structure, railway products, generators etc.
Forgings- Shafts, Valve bodies, bars, flanges, plates etc.
Castings- Valve bodies, turbine casings, pump bodies, pulleys, etc.
Wrought products- Rolled plates, bars, beams and sections
Pipe and tubes- Seamless, welded pipes, sheets used for welded pipes
Inservice inspection
COMPANY’S CREDENTIALS / APPROVALS / ACCREDITATION:
ISO 9001 : 2015
ISO/IEC 17025: 2017 (NABL)
PERSONNEL QUALIFICATIONS:
NDE Level II (SNT-TC-1A), ASNT Level III, ISNT Level II/III, ISO 9712 Level 2/3,
PED, PCN, ICN
- Lux meter - 2
- Radiometer – 1
- LED UV light – 2
- ASTM Block – 1
- Hall effect meter – 1
- Residual field indicator – 2
- Burmah castrol strips – 2
- ASTM pie gauge - 4
- Electromagnetic yoke – 4
- Prods – 1
- Horizontal bench type equipment – 1
- Lifting plate 4.5 kg – 2
- Lifting plate 18 kg - 2
FAQ
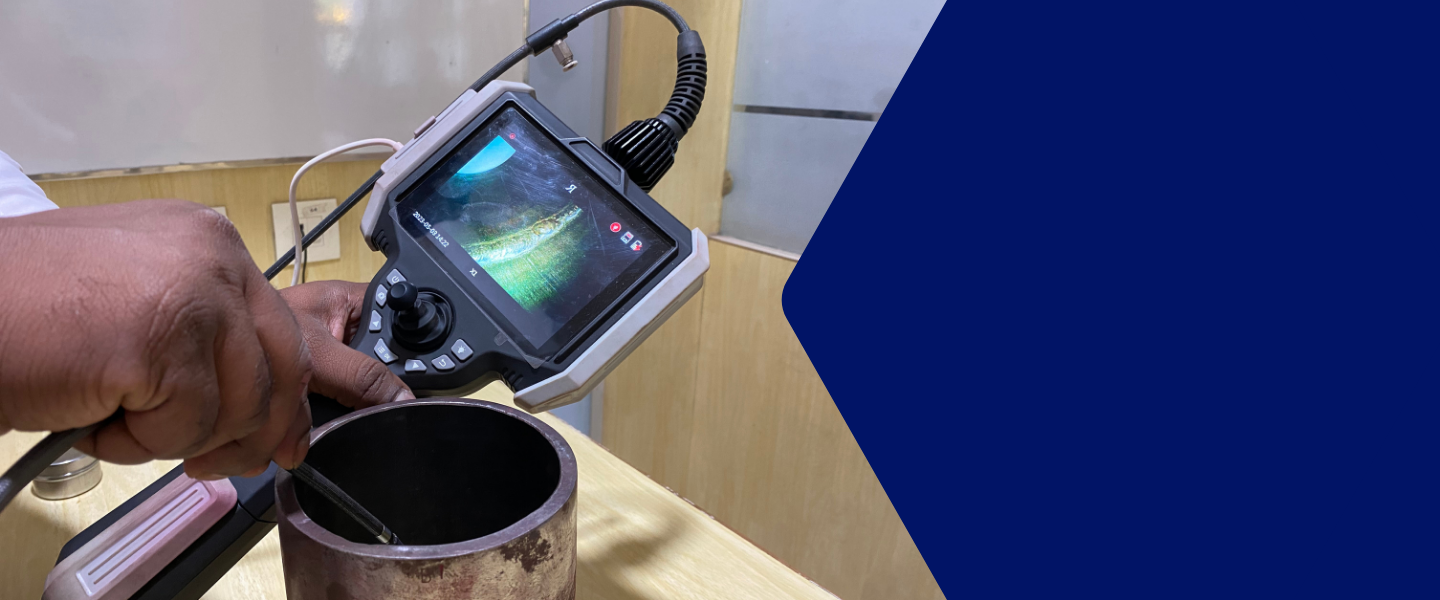
Visual Inspection is monitoring of specific parameters viz, roughness, dimensions, surface discontinuities by visual and optical assessment of test object and surfaces using the visible portion of electromagnetic spectrum. Inspection may be by use of eye alone or can be enhanced using optical systems such as magnifiers, mirrors, borescope, fiberscope. Indications found are interpreted and evaluated as per applicable design code
APPLICATIONS:
Weld inspection – Boilers, Pressure vessels, Heat exchangers, structure, railway products, generators etc.
Forgings- Shafts, Valve bodies, bars, flanges, plates etc.
Castings- Valve bodies, turbine casings, pump bodies, pulleys, etc.
Wrought products- Rolled plates, bars, beams and sections
Pipe and tubes- Seamless, welded pipes, sheets used for welded pipes
Inservice inspection
COMPANY’S CREDENTIALS / APPROVALS / ACCREDITATION:
ISO 9001 : 2015
PERSONNEL QUALIFICATIONS:
NDE Level II (SNT-TC-1A), ASNT Level III, ISNT Level II/III, ISO 9712 Level 2/3,
PED, PCN, ICN
- Videoscope – Pro – 1
- Multipurpose weld gauge – 10
- Hi-low welding gauge – 3
- V-wac gauge – 2
- Set of fillet weld gauge - 4
- Palmgren gauge – 2
- Inspection mirrors – 6
- Vernier calliper – 4
- Micrometer – 4
- Lux meter – 2
- AWS toolkit - 4
FAQ
Phased Array (PA) transducers can be thought of as multiple small conventional transducers (called elements) housed in a single unit. Each transducer can be pulsed individually and by varying the time between pulses from the elements, for example sequentially, along a row such that constructive interference of the individual waves can occur, the desired angle and focus is achieved. It can be said that PA beams can be steered and shaped electronically. Main advantages as compared with conventional UT are:
- Ability of interrogating a defect with different angles increases the probability of detection (POD) of defects regardless of their orientation
- Ability to dynamically focus at different depths, improves ability for sizing critical defects by improving the signal to noise ratio
- Ability of plotting return signal data in various standard display formats
- Ability to increase the number of elements used, thus increasing sensitivity by reducing beam spread and sharpening the focus
- High inspection speeds over conventional UT employing raster scanning
- Increased signal to noise ratio using focused beams
- Data software is readily available for post-processing capabilities
APPLICATIONS:
Weld inspection – Boilers, Pressure vessels, Heat exchangers, structure, railway products, generators etc.
Forgings- Shafts, Valve bodies, bars, flanges, plates etc.
Castings- Valve bodies, turbine casings, pump bodies, pulleys, etc.
Wrought products- Rolled plates, bars, beams and sections
Pipe and tubes- Seamless, welded pipes, sheets used for welded pipes
Inservice inspection
COMPANY’S CREDENTIALS / APPROVALS / ACCREDITATION:
ISO 9001 : 2015
PERSONNEL QUALIFICATIONS:
NDE Level II (SNT-TC-1A), ASNT Level III, ISNT Level II/III, ISO 9712 Level 2/3,
PED, PCN, ICN
- Olympus Omniscan MX2 -1
- NDT setup builder software for designing of scan plan
- OmniPC software for interpretation and evaluation of indications
- Various type of scanner as per required joints
FAQ
TOFD is a advance non-destructive testing (NDT) technique which offers the accurate detection of cracks, slag and lack of fusion. It is an improved version of the conventional ultrasonic testing method which provides a fully computerized system able to scan, store, and evaluate indicators in terms of height, length, and position. TOFD does not rely on the reflectivity of the flaw but uses the diffracted sound initiating from the flaw tips for location. This means that the technique can detect flaws irrespective of their type or orientation.
When the TOFD technique is applied to welds, the transmitting and receiving probes are located equidistant from the weld centre and scanned parallel with the weld. A single pass can be sufficient to attain the required inspection coverage. Some of the advantages of the methods are:
- TOFD is the most accurate technique for sizing defects, especially for internal defects.
- TOFD is one of the most accurate methods available for measuring the growth of flaws.
- TOFD has a high probability of detection.
- Data is collected in B- or D-scan format, improving the detection of flaws in the presence of signals from geometric features Most welds can be rapidly screened by TOFD and demonstrated that they are free of significant flaws.
APPLICATIONS:
Weld inspection – Boilers, Pressure vessels, Heat exchangers, structure, railway products, generators etc.
In-service inspection
COMPANY’S CREDENTIALS / APPROVALS / ACCREDITATION:
ISO 9001 : 2015
PERSONNEL QUALIFICATIONS:
NDE Level II (SNT-TC-1A), ASNT Level III, ISNT Level II/III, ISO 9712 Level 2/3,
PED, PCN, ICN
- Olympus Omniscan MX2 -1
- NDT setup builder software for designing of scan plan
- OmniPC software for interpretation and evaluation of indications
- Various type of scanner as per joint design
FAQ
Eddy current testing is particularly well suited for detecting surface cracks but can also be used to make electrical conductivity and coating thickness measurements. This method is applicable to electrically conductive materials only. In the method eddy currents are produced in the product by placing it close to an alternating current carrying coil. The alternating magnetic field of the coil is changed by presence of the magnetic fields of the eddy currents. This changed, which depends on the condition of the part near to the coil, is then shown as a meter reading or cathode ray tube presentation.
APPLICATIONS:
Weld inspection – Boilers, Pressure vessels, Heat exchangers, structure, railway products, generators etc.
Forgings- Shafts, Valve bodies, bars, flanges, plates etc.
Castings- Valve bodies, turbine casings, pump bodies, pulleys, etc.
Wrought products- Rolled plates, bars, beams and sections
Pipe and tubes- Seamless, welded pipes, sheets used for welded pipes
Inservice inspection
COMPANY’S CREDENTIALS / APPROVALS / ACCREDITATION:
ISO 9001 : 2015
PERSONNEL QUALIFICATIONS:
NDE Level II (SNT-TC-1A), ASNT Level III, ISNT Level II/III, ISO 9712 Level 2/3,
PED, PCN, ICN
- Material sorting
- Tube inspection
- Surface coil
- Encircling coils
- Differential and absolute coil
FAQ
LEAK TESTING is the branch of non-destructive testing that concerns the escape or entry of liquids or gases from pressurized (Pressure technique) or into evacuated (components or systems intended to hold these liquids. Leaking fluids (liquid or gas) can penetrate from inside a component or assembly to the outside, or vice versa, as a result of a pressure differential between the two regions or as a result of permeation through a leak.
APPLICATIONS:
Weld inspection – Boilers, Pressure vessels, Heat exchangers, structure, railway products, generators etc.
Forgings- Shafts, Valve bodies, bars, flanges, plates etc.
Castings- Valve bodies, turbine casings, pump bodies, pulleys, etc.
Wrought products- Rolled plates, bars, beams and sections
Pipe and tubes- Seamless, welded pipes, sheets used for welded pipes
Inservice inspection
COMPANY’S CREDENTIALS / APPROVALS / ACCREDITATION:
ISO 9001 : 2015
PERSONNEL QUALIFICATIONS:
NDE Level II (SNT-TC-1A), ASNT Level III, ISNT Level II/III, ISO 9712 Level 2/3,
PED, PCN, ICN
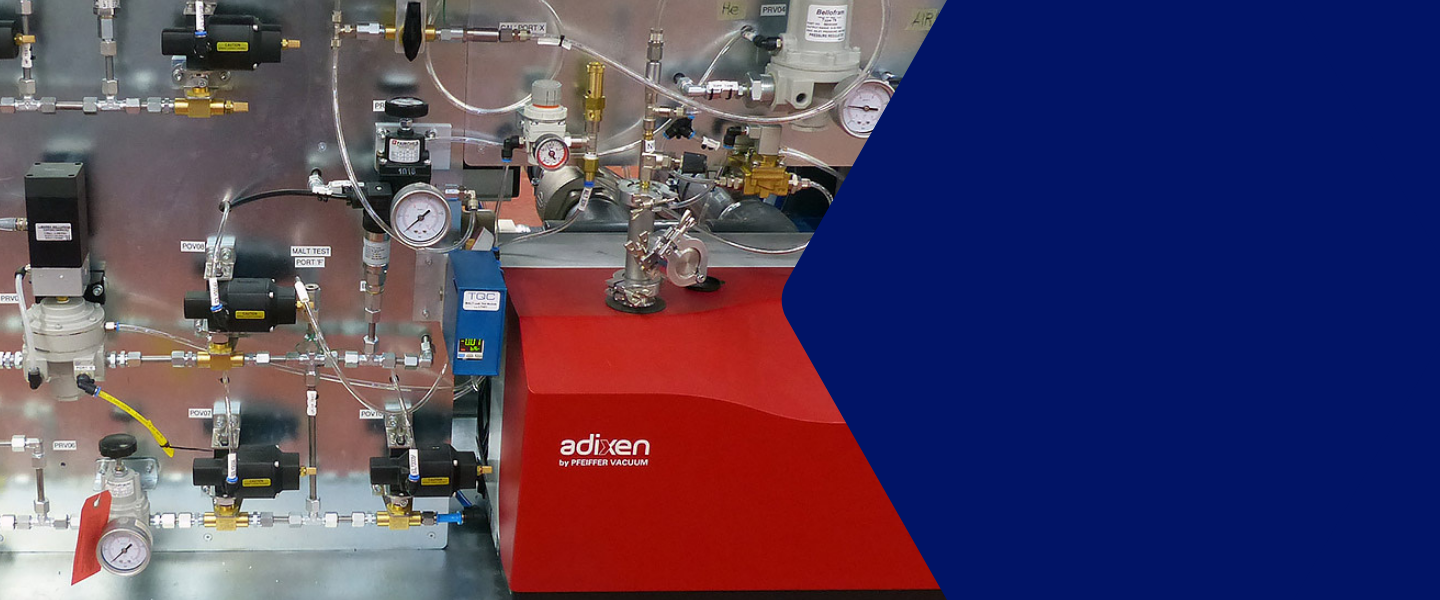
- Helium Mass spectrometer Machine with masters for Detector, hood and tracer probe technique
- Vacuum box testing machine
FAQ
Hardness is also an important material characteristic. The hardness measures the material’s resistance to plastic deformation. there usually is an indentation made on the surface of the material.
APPLICATIONS:
Weld inspection – Boilers, Pressure vessels, Heat exchangers, structure, railway products, generators etc.
Forgings- Shafts, Valve bodies, bars, flanges, plates etc.
Castings- Valve bodies, turbine casings, pump bodies, pulleys, etc.
Wrought products- Rolled plates, bars, beams and sections
Pipe and tubes- Seamless, welded pipes, sheets used for welded pipes
Inservice inspection
COMPANY’S CREDENTIALS / APPROVALS / ACCREDITATION:
ISO 9001 : 2015
PERSONNEL QUALIFICATIONS:
Personnel competent in the use of equipment and procedure
- Metrix UCI Hardness tester – 1
FAQ
Material verification programs focus on alloy materials of construction and assuring there is no inadvertent use of a non-specified material of construction. Maintenance, repair and alterations to pressure vessels can involve the use of
alloy materials of construction. Tower trays, tray valve caps, refractory anchors, corrosion resistant weld overlay often are alloy material and assuring the specified material is actually used is critical to their performance. Welding consumables, insert plates, and nozzles used in repairs and alterations of alloy pressure vessels should be verified..
APPLICATIONS:
Weld inspection – Boilers, Pressure vessels, Heat exchangers, structure, railway products, generators etc.
Forgings- Shafts, Valve bodies, bars, flanges, plates etc.
Castings- Valve bodies, turbine casings, pump bodies, pulleys, etc.
Wrought products- Rolled plates, bars, beams and sections
Pipe and tubes- Seamless, welded pipes, sheets used for welded pipes
Inservice inspection including retroactive inspection and repair alteration activities.
Consumable conformance by making welding buttons
COMPANY’S CREDENTIALS / APPROVALS / ACCREDITATION:
ISO 9001 : 2015
PERSONNEL QUALIFICATIONS:
Personnel competent in the use of equipment and procedure
- Niton GLX-900 -1
FAQ
Ultrasonic thickness gauge uses high frequency and the shorter wavelength sound waves are introduced into the material being inspected. The sound waves travel through the material are reflected from any interface or thickness and returned to transducer to show thickness or depth.
APPLICATIONS:
Weld inspection – Boilers, Pressure vessels, Heat exchangers, structure, railway products, generators etc.
Forgings- Shafts, Valve bodies, bars, flanges, plates etc.
Castings- Valve bodies, turbine casings, pump bodies, pulleys, etc.
Wrought products- Rolled plates, bars, beams and sections
Pipe and tubes- Seamless, welded pipes, sheets used for welded pipes
In-service inspection
COMPANY’S CREDENTIALS / APPROVALS / ACCREDITATION:
ISO 9001 : 2015
ISO/IEC 17025: 2017 (NABL)
PERSONNEL QUALIFICATIONS:
Knowledge of ultrasonic thickness measurement techniques and procedure
- Modsonic Edison 1P -2
- Mitech – 1
- High temperature probes (upto 300 0 C) - 2
